Sourdough Recipe
Sourdough Recipe
Prerequisites
- Sourdough starter. This is a topic for another day.
- A Sourdough Calculator.
Starter
There are two types of starter: master mix and levain (passaging or working starter).
Master mix not used for regular passaging / bread preparation. In case your dough starter goes bad, you can fall back on your master mix.
Levain is what you would use for regular bread making.
Master Mix Storage and Maintenance
- Store in the fridge. Use a container that is at least 3 times larger than the volume of the starter.
- Approximately once every 1-3 months:
- Take out and mix.
- Phase separation (liquid on top) is normal.
- The smell should be pleasant and sweet.
- Discard ~50%.
- Add approximately the same weight of 1:1 w/w mixture of flour/water.
- Any unbleached flour will work.
- The culture does seem to like whole wheat a lot.
- Take out and mix.
- [Optional] Approximately every 6-12 months take out a sample and make bread with it to confirm the integrity of the master mix (see Levain (Dough Starter) below).
Levain (Dough Starter)
- Take out 10-50 g of master mix or existing levain (see below).
- The exact quantity of the starter pretty much does not matter, however, the smaller it is, the longer it’ll take for it to rise. Consequently, take less in the summer and more in the winter.
- Add equal parts (by weight) of water and flour so that the total weight is enough to make bread (refer to the Sourdough Calculator).
- Mix thoroughly.
- Leave at room temperature until the mixture doubles in volume.
- The process may take anywhere from 4 (summer) to 24 hours (winter).
- If necessary, it’s okay to simply leave it overnight even in the summer.
- Most of the levain will be used in making of the loaf (see the next steps below).
- The leftovers become (or continue as) a “working copy” of the starter and will be used in step 1 (above) next time you make a loaf.
- When not in use, store 30-100 g of this mixture at room temperature (winter) or in the fridge (summer).
- If this mixture goes bad, prepare a new batch using your master mix.
Making Sourdough Bread
Mixing
- Refer to the Sourdough Calculator to determine the weights of all ingredients.
- Add, in this order:
- Levain.
- Water.
- Flour.
- Salt.
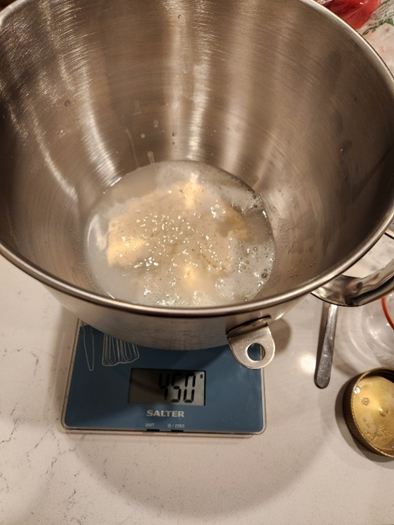
Mix by hand or in a mixer with the dough hook until smooth (~5 minutes).
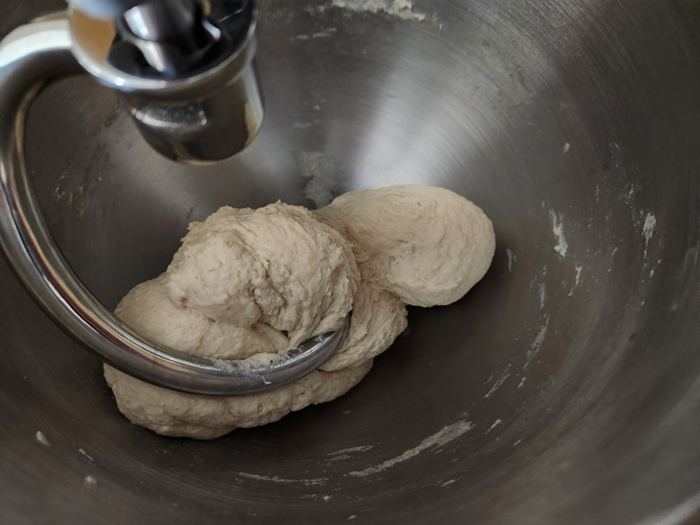
- The dough must be moving as one lump. If you notice some of the dough is sticking to the bottom of the bowl, add some flour (start with 1-2 tbsp) and let it incorporate. Repeat until the dough is no longer sticking to the bowl.
- Cover the mixing bowl with a towel and wait for 30-60 min.
- Mix by hand or in a mixer with the dough hook until smooth (~7 min).
- If the dough is still sticking, add more flour.
Proofing
- Scrape the dough into a bowl. Take a small sample, place it into a glass jar, and mark the level.
- Leave the dough at room temperature, not to exceed ~78°F (~25°C).
- If the dough gets too hot, the bacterial component may take over the yeast, and the dough will smell foul and be unusable.
- Wait until the dough sample increases in size at least 2x.
- The dough in the bowl will be gassy and lively.
- This may take anywhere from 6 (summer) to 12 (winter) hours, on average.
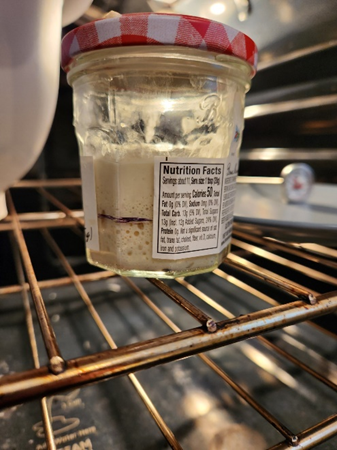
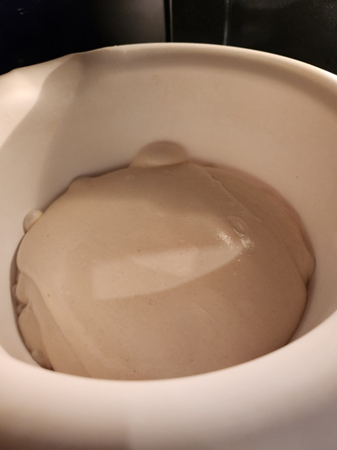
- Check the smell and consistency of the dough: it should still have the same pleasant sweet smell.
If the dough smells foul and is extremely sticky, discard. - Prepare a bread basket or any other ventilated vessel (e.g., colander) to hold the dough (a strainer works well). Place a towel inside, and sprinkle it with flour.
- Dump the dough onto a dry surface covered with a bit of flour.
- Stretch and fold the dough upon itself in a circle. Make a round boule.
- The dough can be somewhat sticky, runny, and rather hard to handle at higher hydration (especially in the summer). Use flour (you might have to use ca. 2-3 tablespoons). However, if you did your due diligence in the beginning and ensured the dough did not stick to the bottom of the bowl, you should have a nice tight boule.
- Put the dough into the vessel you prepared.
- Leave in the fridge for 12-24 hours (this depends only on the time of the day and convenience).
- Longer proofing times may yield better taste but smaller spring and denser loaves. Your mileage may vary.
Baking
- Preheat the oven to 425°F with a Dutch oven in it for ~20 min.
- Use the middle rack.
- Alternatively, bake on a sheet and cover with something like a deep turkey tray. You need something to trap moisture.
- Prepare:
- A spray bottle with water.
- A knife coated with butter.
- Do the following quickly:
- Take out the Dutch oven and open it.
- Transfer the boule onto its lid.
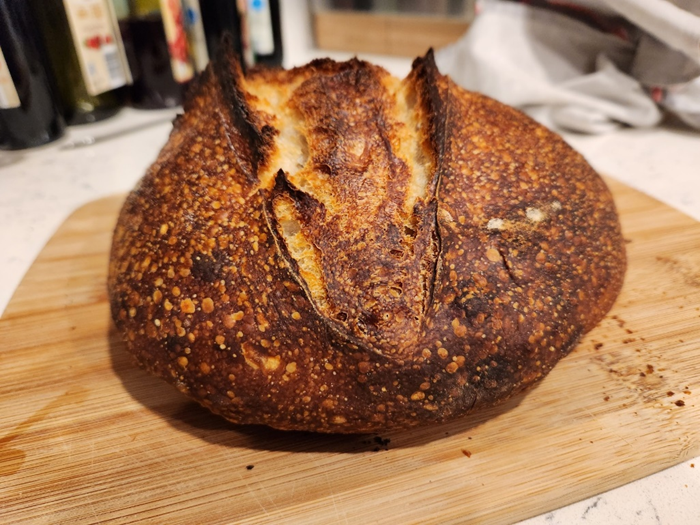
- Make one or more incisions with the butter-coated knife.
- Any incision(s) will do just fine (criss-cross about 0.5-1” deep and 3-4” wide is probably the easiest).
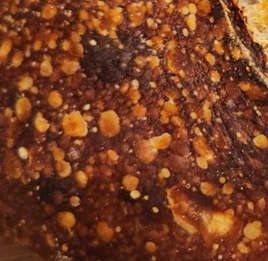
- Spray with water thoroughly.
- This is to create a bubbly texture on the crust.
- Cover with the body of the Dutch oven (so the oven will be resting on its lid upside-down).
- Return the assembly into the oven.
- Bake covered for 30 minutes.
- Remove the cover, bake for 20 more minutes.
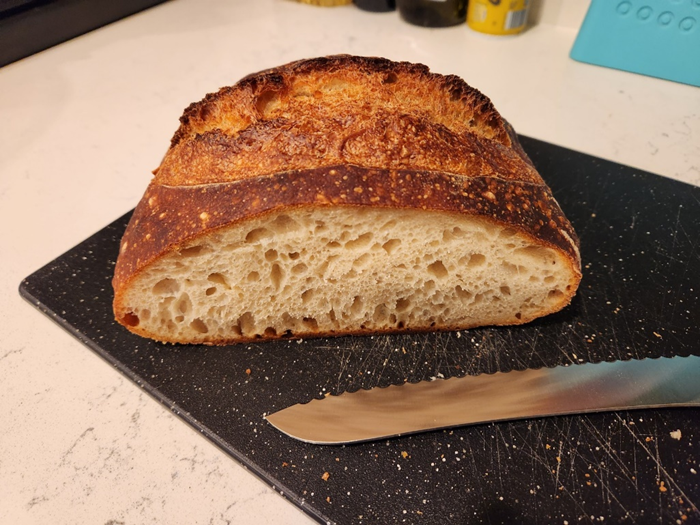
Enjoy!
This post is licensed under CC BY 4.0 by the author.